How to Hide Gap Between Dishwasher and Cabinet?
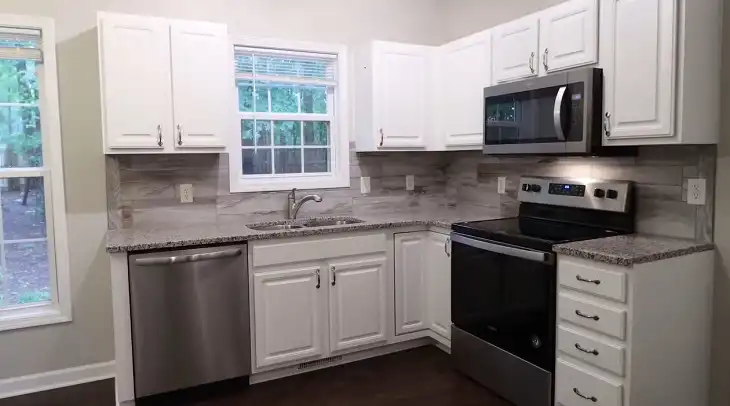
Tired of that ugly gap ruining your kitchen’s sleek look? I feel you – it’s an eyesore and can actually lead to water damage or pest problems down the line. But don’t stress, I’ve got three easy fixes to banish that gap for good. Whether you want a quick and cheap solution with filler strips, something more permanent by adding a custom wood piece, or just no-hassle caulking, this guide has you covered. Simple tips, affordable supplies, and step-by-step instructions – let’s get that seamless dream kitchen!
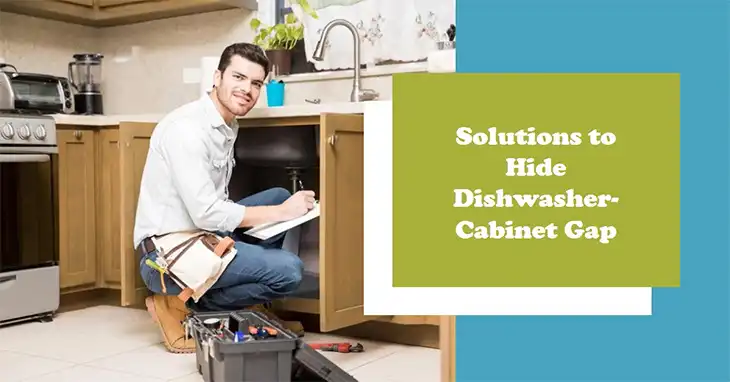
Way 1 – Using Filler Strips to Hide the Gap
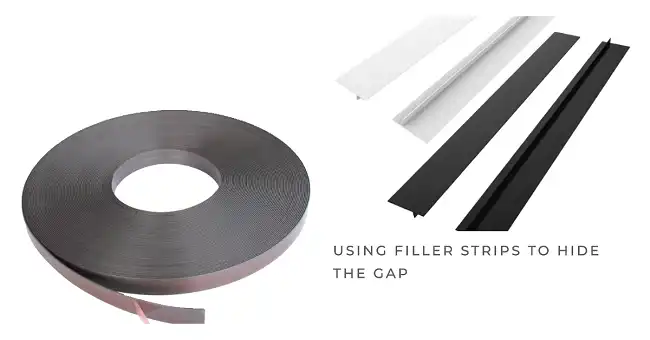
Filler strips are narrow pieces of wood or plastic that can be easily trimmed and inserted into the gap between your dishwasher and cabinets. They provide a simple, affordable way to minimize and conceal that unsightly opening.
Necessary Tools and Materials
You’ll just need a few basic tools and supplies to get started. Gather these items before beginning the project.
- Filler strips (wood or plastic)
- Utility knife or saw
- Measuring tape
- Wood glue or adhesive (optional)
Steps to Follow
Follow these simple step-by-step instructions. With minimal effort, you’ll have that gap hidden away in no time.
1️⃣ First things first, grab that measuring tape and carefully determine just how wide that pesky gap between your dishwasher and cabinet opening is. With that measurement in hand, you can then purchase some simple filler strips slightly wider than the gap itself. Wood and plastic are both really common options that’ll get the job done.
2️⃣From there, use a utility knife or small saw to trim down those filler strips until they’re the perfect length to span that gap. If you want them to stay extra secure, run a thin line of wood glue or adhesive along one side before sliding the strip into place.
3️⃣ Just gently press the filler strip into the gap, making sure it fits nicely and snugly against both the dishwasher and cabinet surfaces. Allow any glue or adhesive you used to fully dry and cure up before calling it a day.
Alternatively, you can use magnetic/adhesive strips to wrap up the gaps between the cabinet and dishwasher easily.
Way 2 – Adding a Wood Piece to Cover Up the Gap
A custom-cut wood piece, ideally made from the same material as your cabinets, can create a permanent, built-in look to cover the dishwasher gap seamlessly. This method takes a bit more effort but results in a flawless finish.
Necessary Tools and Materials
You’ll need these tools and materials on hand. Make sure to have everything ready to go before starting.
- Wood plank or board (same material as cabinets)
- Saw
- Wood stain or paint (optional, to match cabinets)
- Sandpaper
- Measuring tape
- Wood glue
- Clamps
Steps to Follow
If you’d prefer a more permanent, seamless look to conceal that gap, installing a slim wood piece is the way to go.
1️⃣First up is measuring that gap very precisely so you can cut a plank or board slightly larger, leaving a little overhang on each side.
2️⃣ Once you’ve got your wood piece cut to size, give it a quick once-over with some sandpaper to ensure a smooth finish. If you’re feeling extra meticulous, you can even stain or paint the wood to make it look like a perfect match with your kitchen cabinets.
3️⃣ With your prepped wood in hand, just run a generous bead of wood glue along the back side and inner edges of the gap itself. Carefully slide that wood piece right on in there, pressing it firmly against the glued surfaces. Use a couple of clamps to hold it tight while that glue dries completely.
Once it’s securely adhered, go back with your saw and trim off any excess wood hanging over the edges. Done and done – a seamless, built-in wood piece covering that unsightly gap for good!
Way 3 – Using Flexible Caulk to Minimize the Visual Gap
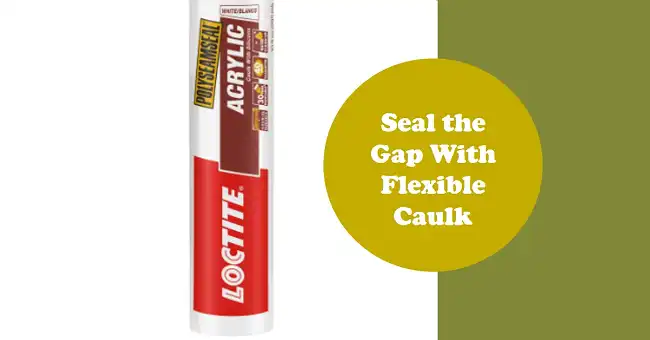
Flexible caulk is a malleable sealant that can be squeezed into the gap and smoothed over for an invisible finish. It provides an easy, no-tool solution to minimize the dishwasher gap.
Necessary Tools and Materials
Gather these affordable caulking supplies first. You only need a handful of basic items for this method.
- Flexible caulk (silicone or acrylic based)
- Caulk gun
- Putty knife or caulking tool
- Masking tape
- Damp cloth
Steps to Follow
For those looking for the fastest, easiest solution around, busting out the caulk is where it’s at.
1️⃣ Kick things off by giving that gap area a good once-over, clearing out any dirt, crumbs, or debris that accumulated over time.
2️⃣ Next up is applying some masking tape along the outer edges of the gap itself. This will ensure you get a nice, crisp, professional-looking line once that caulk goes in.
3️⃣ Speaking of, snip the tip off your caulk tube at a 45-degree angle, making that opening slightly bigger than the gap itself. Load that puppy into a caulk gun, then slowly squeeze that trigger to apply a smooth, even line of caulk right into that gap.
4️⃣ Use a putty knife or caulk tool to really work that caulk deeply into the gap, ensuring it gets evenly spread and filled from top to bottom. Before it has a chance to fully cure, carefully peel away that masking tape for clean edges.
Allow it to fully dry per the instructions on the caulk tube. Once it’s cured up solid, take a damp cloth and lightly wipe away any excess caulk for a clean, seamless finished look.
End Notes
Any of these methods will give you flawless, unbroken cabinet lines and protect against moisture or crumb buildup. No more eyesore, no more potential issues. If any part was confusing, just leave a comment – I’m happy to clarify. For now, take a step back and admire that beautiful, cohesive kitchen you created!

