How to Remove Price Pfister Kitchen Faucet Sprayer
Removing a Price Pfister kitchen faucet sprayer can be a straightforward task, but it does require a bit of knowledge about the components and a few basic tools. Whether you’re replacing a malfunctioning sprayer or updating your faucet system, the process involves disconnecting the sprayer hose, detaching the sprayer head, and sometimes removing the escutcheon.
This article will provide you with a detailed guide on how to remove the sprayer, along with some tips to make the process smoother.
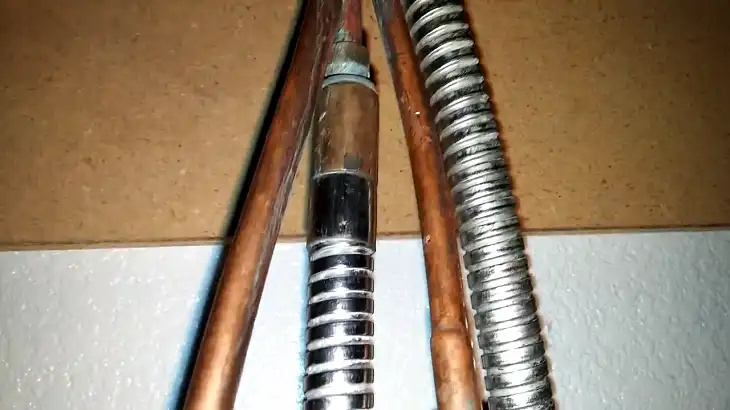
How Do You Remove a Pfister Sprayer?
Below are the step-by-step instructions on how to safely detach the sprayer from your Pfister faucet, allowing for easy cleaning, replacement, or repair.
Tools and Materials You’ll Need:
- Adjustable wrench or pliers
- Basin wrench (optional, but useful in tight spaces)
- Towel or bucket (to catch water)
- Replacement parts (if you’re planning to install a new sprayer)
Step 1: Turn Off the Water Supply
Before you begin, it’s essential to turn off the water supply to the faucet to avoid any accidental water spills. Typically, there are shutoff valves located under the sink. Turn these valves clockwise to close them.
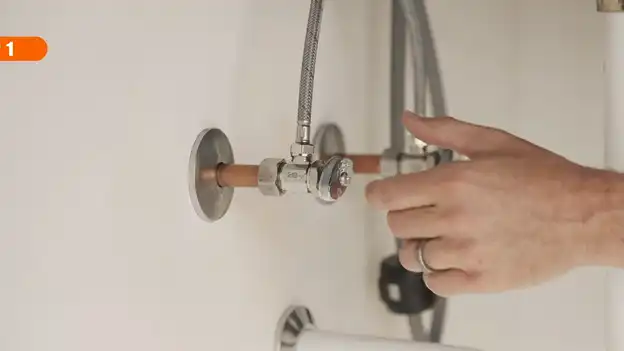
If your sink does not have dedicated shutoff valves, you’ll need to turn off the main water supply to your home. Once the water is off, open the faucet to release any remaining water and reduce pressure.
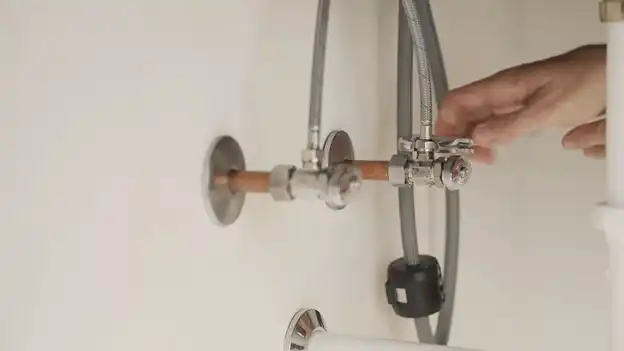
Step 2: Disconnect the Sprayer Hose
Locate the sprayer hose under the sink. The hose is usually connected to the faucet assembly via a quick-connect fitting or a threaded connection.
- Quick-connect fitting: If your faucet has a quick-connect system, simply press the release button or tabs on the fitting and gently pull the hose away from the connection.
- Threaded connection: For older models, you may need an adjustable wrench or pliers to unscrew the hose from the faucet base. Wrap the fitting with a towel or rag to protect the finish before using the wrench.
Step 3: Remove the Sprayer Head
Now, go to the sprayer head at the top of the sink. Unscrew the sprayer head from the hose by twisting it counterclockwise.
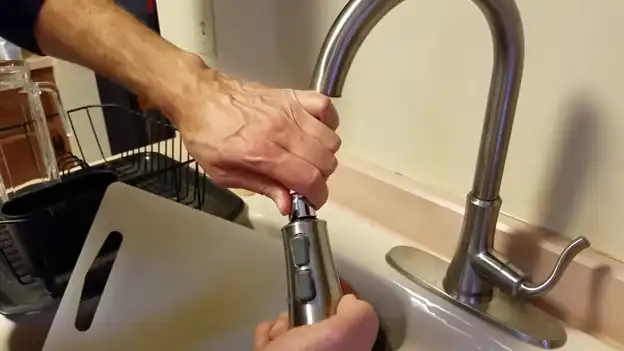
If the connection is too tight, use a wrench or pliers, but be sure to cover the sprayer with a towel to avoid scratching or damaging the finish.
Once the sprayer head is detached, set it aside. If you’re replacing the sprayer, discard the old one. Otherwise, you can clean and inspect it for any debris or wear if you’re reusing it.
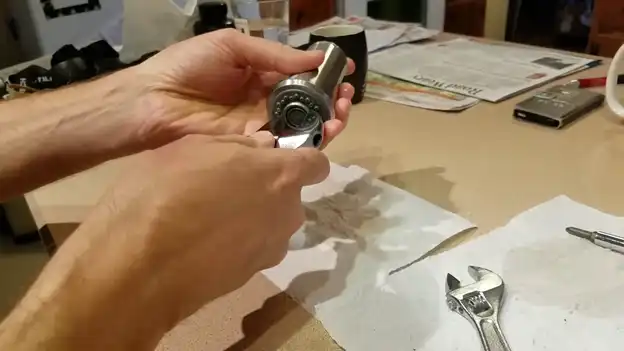
Step 4: Remove the Sprayer Hose from the Faucet Body
With the sprayer head removed, go back under the sink and pull the sprayer hose completely out of the faucet body. In most cases, the hose will slide out easily through the faucet’s body or mounting hole.
If the hose is difficult to pull out, inspect for any tangles or obstructions under the sink. Gently wiggle it back and forth to free it from any tight spots.
Step 5: Inspect the Faucet and Sprayer Parts
Once the hose and sprayer have been removed, take the opportunity to inspect all parts for wear and tear. Check the hose for cracks, leaks, or hard water deposits. If necessary, replace the hose or sprayer with new components that match your Price Pfister faucet model.
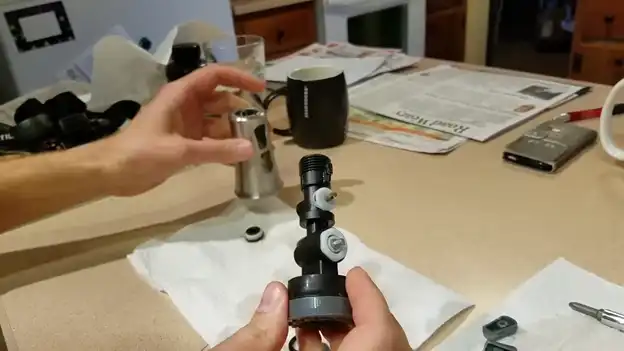

Step 6: Reassemble (if needed)
If you’re replacing the sprayer with a new one, the installation process is the reverse of removal.
- Feed the new sprayer hose through the faucet’s mounting hole.
- Attach the sprayer head to the hose by twisting it clockwise.
- Reconnect the sprayer hose to the faucet base using the quick-connect fitting or by tightening the threaded connection with an adjustable wrench.
Step 7: Turn the Water Back On
Once everything is reassembled, turn the water supply back on by opening the shutoff valves under the sink (or the main water supply if necessary). Test the sprayer to ensure it functions properly without any leaks.
Frequently Asked Questions
How do you remove the aerator from a Pfister kitchen faucet?
Use a wrench or adjustable pliers to loosen and remove the nut that secures the aerator to the faucet spout. Once the nut is removed, the aerator can be pulled straight off the spout.
How do I remove the handle on my Pfister kitchen faucet?
You’ll need to locate the set screw, which is typically found directly beneath the handle. Use a 3/32 inch Allen wrench to remove it by turning counterclockwise until it comes out.
How do you remove a price Pfister tub spout?
There’s a set screw that you can access through a hole in the bottom of the spout. This screw is tightened against the copper pipe to secure it in place. Find the hole or slot in the bottom of the spout, loosen the screw, and slide the spout off.
Conclusion
Removing a Price Pfister kitchen faucet sprayer is a straightforward DIY project that requires just a few basic tools. Whether you’re replacing an old sprayer or upgrading to a more modern model, following these steps will help you tackle the job with confidence. With proper care and maintenance, your new or repaired sprayer will function smoothly for years to come.


