How to Clean a Flour Sifter?

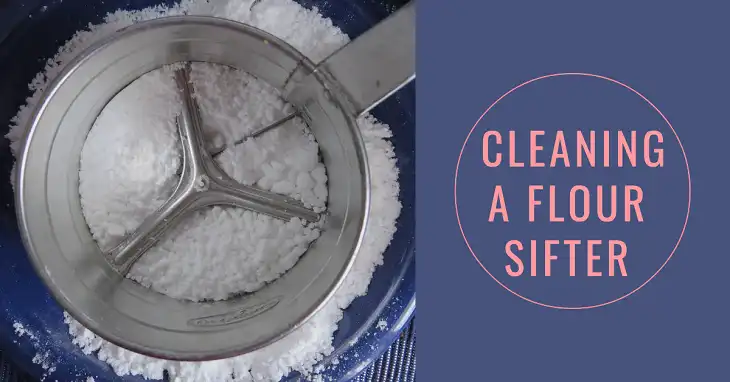
To clean a flour sifter effectively, it’s essential to use the right techniques to ensure no flour residue, moisture, or rust remains inside. Flour sifters are delicate tools that require special care to maintain their efficiency and longevity. Regular cleaning prevents clogs, keeps your flour sifter in optimal condition, and ensures there are no lingering particles that can contaminate other ingredients. Whether you have a metal, plastic, or rotary sifter, this article will walk you through the best ways to clean your flour sifter, with options for both quick cleanups and deep cleaning.
Why It’s Important to Clean a Flour Sifter Properly
A flour sifter is designed to aerate and break up clumps in flour, giving you a smooth and consistent texture for baking. Over time, leftover flour can accumulate inside the mesh screen and gears, leading to clogging, reduced performance, and even rust if exposed to moisture. If not cleaned regularly, the buildup can attract pests and create an unhygienic environment in your kitchen. Therefore, understanding how to clean a flour sifter thoroughly is crucial to keeping it in perfect working order.
Quick Cleaning Method for Regular Maintenance
If you use your flour sifter frequently, it’s a good idea to give it a light cleaning after every use to prevent flour buildup. The quickest way to clean a flour sifter is by using a dry brush to remove any flour particles.
- Use a Dry, Soft-Bristle Brush: After sifting, hold the sifter over the trash can or sink and use a soft-bristle brush (such as a pastry brush) to gently sweep out any flour trapped in the mesh and gears. Make sure to reach all the crevices, especially around the mesh screen, as flour tends to hide there.
- Tap Out Excess Flour: Turn the sifter upside down and tap the sides gently to dislodge any remaining flour. Avoid using water for this quick cleaning method, as even a little moisture can cause flour to clump and potentially lead to rust in metal sifters.
Deep Cleaning for a Thorough Clean
If you notice flour buildup, discoloration, or a musty smell, it’s time for a more thorough cleaning. This process involves washing and drying the sifter carefully to ensure no moisture remains.
- Rinse with Warm Water: For metal or stainless steel sifters, start by rinsing the sifter under warm running water. Gently swirl the water around the mesh screen and gears to loosen any stuck-on flour particles. Avoid using soap at this stage, as it can be difficult to rinse off completely from the mesh.
- Use a Soft Sponge or Toothbrush: Dip a soft sponge or an old toothbrush in warm, soapy water and carefully scrub the interior and exterior of the sifter. Focus on the screen, gears, and handle mechanism to ensure all flour residue is removed. If the sifter has a rotary handle, make sure to rotate it as you clean to reach all the moving parts.
- Rinse and Inspect: Once the sifter is scrubbed clean, rinse it thoroughly under running water to remove all soap and flour residue. Inspect the sifter to ensure no particles are left, especially in the corners or the mesh. It’s crucial to get rid of every bit of soap, as any leftover residue can mix with flour during future use.
- Dry Thoroughly: Shake off as much water as possible, then place the sifter on a clean towel. Use a separate dry towel to pat the sifter dry, focusing on the mesh and crevices. For best results, allow the sifter to air-dry completely for several hours before storing it. If you have a metal sifter, you can place it in a warm, turned-off oven for about 10 minutes to remove any remaining moisture.
Removing Stubborn Flour Buildup
Sometimes, flour can become caked onto the sifter’s mesh or mechanism, making it challenging to clean. For these situations, try using a toothpick or a small pin to gently dislodge the hardened flour. Another effective method is to soak the sifter in warm, soapy water for about 30 minutes to loosen the buildup before scrubbing.
How to Prevent Rust in Metal Flour Sifters
Rust is a common issue with metal sifters, especially if they are exposed to moisture or not dried properly after washing. To prevent rust:
- Always Store in a Dry Place: After each cleaning, make sure your sifter is completely dry before storing it. Any leftover moisture can lead to rust formation.
- Use a Silica Gel Packet: Place a silica gel packet inside the sifter when storing it to absorb any excess moisture.
- Avoid Prolonged Contact with Water: If possible, opt for dry-cleaning methods more often than wet washing, as frequent exposure to water can reduce the lifespan of a metal sifter.
How to Clean Plastic Flour Sifters
Plastic flour sifters are less prone to rust, but they can still develop buildup and odors if not cleaned regularly. The cleaning process is similar to metal sifters, but there are a few differences:
- Avoid Harsh Scrubbing: Plastic is more prone to scratching, so use a soft sponge instead of a brush.
- Soak in Soapy Water: For deep cleaning, soak the plastic sifter in warm, soapy water for about 10 minutes to break down any residue.
- Rinse and Dry: Rinse thoroughly and dry with a towel, making sure no soap is left behind.
Can You Put a Flour Sifter in the Dishwasher?
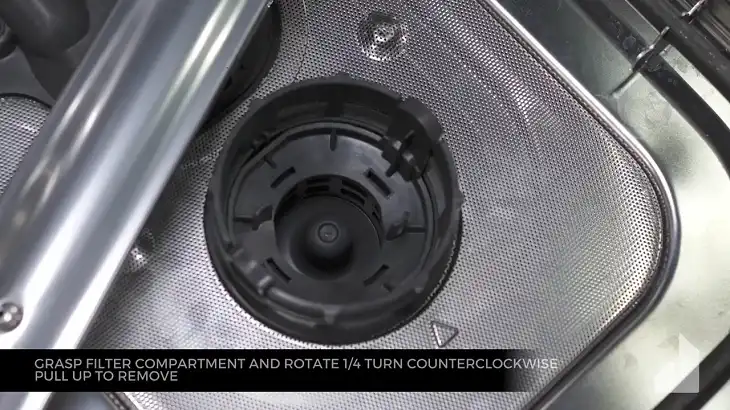
While some modern sifters are labeled as dishwasher-safe, it’s generally not recommended to put a flour sifter in the dishwasher. The strong water jets can damage the mesh screen or the gears, and prolonged exposure to heat can warp plastic parts. Instead, hand washing with gentle tools and drying thoroughly is the best way to keep your flour sifter in top condition.
Additional Tips for Maintaining a Flour Sifter
- Use Only for Dry Ingredients: Avoid using your sifter for wet or sticky ingredients, as this can clog the mesh and make cleaning more difficult.
- Regular Light Cleaning: Even if you don’t see visible buildup, it’s a good idea to give the sifter a light brush or a quick shake after each use to prevent flour from settling in the crevices.
FAQs
1. How often should I clean my flour sifter?
It’s best to clean your flour sifter after every use, especially if you use it frequently. A light brushing or shaking is usually sufficient for regular maintenance, with occasional deep cleaning as needed.
2. Can I use a hairdryer to dry my flour sifter?
Yes, using a hairdryer on a low setting can help remove moisture from hard-to-reach areas and speed up the drying process, especially if you’re worried about rust.
3. Why does my sifter smell musty after cleaning?
A musty smell usually indicates trapped moisture or flour particles that weren’t completely removed. Try soaking the sifter in a mixture of vinegar and water, then rinse and dry thoroughly.
4. What if my flour sifter develops rust?
If your metal sifter has minor rust, you can try using a vinegar solution to dissolve the rust, followed by scrubbing with a toothbrush. For more severe rust, it might be best to replace the sifter, as rust can weaken the structure and potentially contaminate your flour.
Final Thoughts
Cleaning a flour sifter may seem like a daunting task, but with the right techniques and regular maintenance, it’s simple and straightforward. Whether you prefer quick dry cleaning or need to deep-clean your sifter occasionally, keeping it in pristine condition will ensure it works effectively for all your baking needs. By choosing the appropriate cleaning method based on your sifter’s material and condition, you can extend its lifespan and keep your kitchen tools in top shape.


